10 Seed Starting Mistakes That Even Experts Make (And How to Avoid Them)
Transform your seed starting success rate from disappointing to thriving with these proven solutions.
Challenge Even experienced gardeners struggle with inconsistent germination rates and weak seedlings when starting seeds indoors. I often found myself frustrated by leggy seedlings and disappointing germination until I identified these common mistakes that plague novices and experts alike.
What you will learn: In this guide you will find out how to identify the subtle errors causing your seed starting failures, master the precise watering technique that professional growers use, create the optimal light conditions without expensive equipment and develop a foolproof hardening-off process for transplant success.
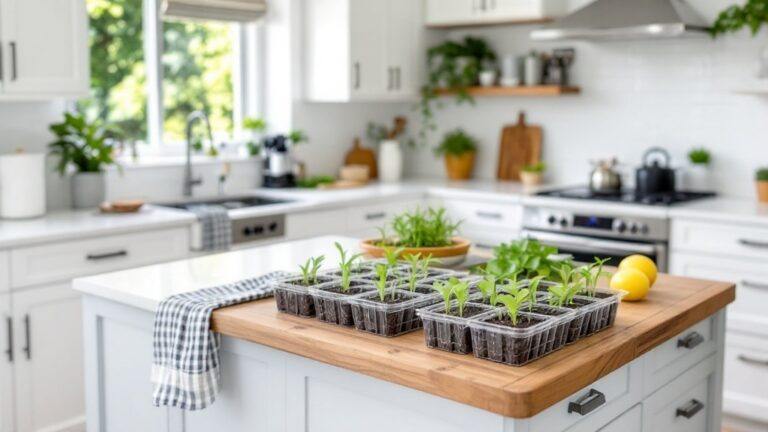
What You’ll Need to Start Seeds Successfully
| Disclosure: If you shop from my article or make a purchase through one of my links, I may receive commissions on some of the products I recommend at no additional cost to you. |
Before addressing the mistakes, ensure you have these essentials on hand:
- Quality seed starting mix (not garden soil)
- Clean containers with drainage holes
- Reliable light source (window or grow lights)
- Heat mat (optional but recommended)
- Clear plastic covers or plastic wrap
- Spray bottle for gentle watering
- Labels and permanent marker
My biggest breakthrough came when I stopped treating all seeds equally and started tracking germination conditions by species. The VIVOSUN Heat Mat transformed my germination rates for heat-loving plants like peppers and tomatoes, paying for itself in saved seeds the first season.

Mistake #1: Using Garden Soil Instead of Seed Starting Mix
That bag of garden soil might seem perfect for starting seeds, but it’s harboring a secret that can doom your seedlings before they even emerge. Garden soil is too dense, may contain pathogens, and doesn’t provide the ideal environment for delicate emerging roots.
Do this instead:
- Choose a lightweight, sterile seed starting mix specifically formulated for germination
- Look for “seed starting formula” on the package
- Avoid mixes with large chunks or sticks that impede root development
- Pre-moisten mix before filling containers to ensure even hydration
PRO TIP: Pre-moisten your seed starting mix with warm water in a separate container before filling cells – dry mix can repel water and leave dry pockets around seeds.
When things go wrong:
| Problem | Cause | Solution |
|---|---|---|
| Seeds germinate but die suddenly | Damping-off disease from non-sterile soil | Use only sterile seed starting mix and ensure good air circulation |
| Seeds fail to emerge | Soil too compacted or heavy | Switch to lightweight seed starting mix with proper aeration |
| Mold growing on soil surface | Contaminated garden soil | Discard and restart with sterile medium |
| Brought to you by: rootedurbanlife.com | ||
Mistake #2: Inconsistent Moisture Levels During Germination
The cycle of soaking wet to bone dry soil is silently sabotaging your seeds’ ability to sprout and establish strong roots. Seeds need consistent moisture to trigger and sustain germination, but excess water can suffocate them.
The right approach:
- Water from below by placing trays in shallow water and allowing capillary action
- Use clear plastic covers to maintain humidity until germination
- Remove covers immediately after germination to prevent dampening off
- Check moisture levels daily at the same time
- Use a spray bottle for gentle top watering when needed
PRO TIP: Create a simple humidity dome by reusing clear plastic containers from grocery store bakery items – they’re free and perfectly sized for seed trays.
Moisture troubleshooting:
| Problem | Cause | Solution |
|---|---|---|
| Seeds start germinating then stop | Inconsistent moisture causing cellular damage | Implement bottom watering system with capillary mat |
| Soil surface constantly dry despite watering | Top-down watering not reaching seeds | Switch to bottom watering method |
| Seedlings wilting despite wet soil | Root rot from overwatering | Allow soil surface to dry slightly between waterings |
| Brought to you by: rootedurbanlife.com | ||
Mistake #3: Insufficient Light Causing Leggy Seedlings
That sunny windowsill that seems bright to human eyes is actually starving your seedlings, forcing them to stretch desperately toward limited light. The result? Tall, spindly seedlings that flop over and fail to thrive after transplanting.
The right approach:
- Position grow lights 2-3 inches above seedlings
- Use full-spectrum LED or fluorescent lights (T5 or T8 tubes work well)
- Provide 14-16 hours of light daily using a simple timer
- Adjust light height as seedlings grow to maintain proper distance
- Rotate trays daily if using window light to prevent leaning
PRO TIP: White reflective surfaces around seedlings can increase light by up to 30% – even aluminum foil or white poster board can make a significant difference.
Light-related issues:
| Problem | Cause | Solution |
|---|---|---|
| Seedlings tall and floppy with large gaps between leaves | Light too dim or too distant | Lower lights to 2-3 inches above plants or add supplemental lighting |
| Seedlings leaning strongly to one side | Uneven light exposure | Rotate trays daily and ensure even light distribution |
| Leaf edges turning brown | Lights too close or too intense | Raise lights slightly and monitor for improvement |
| Brought to you by: rootedurbanlife.com | ||
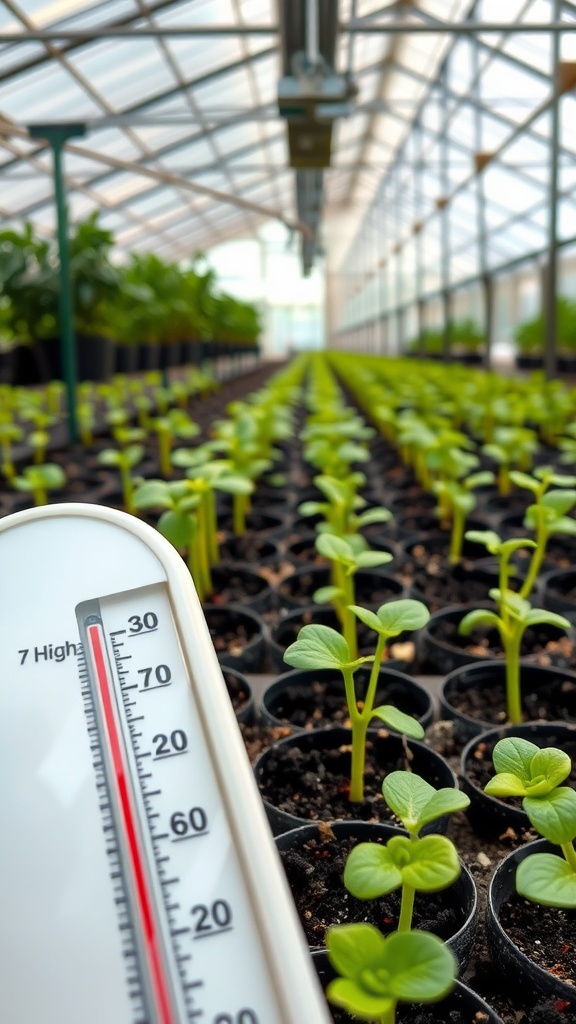
Mistake #4: Ignoring Temperature Requirements
Different seeds have vastly different temperature preferences for germination, yet many gardeners provide the same conditions for everything from lettuce to peppers. Temperature is often the hidden factor in germination failures.
The right approach:
- Cool-season crops (lettuce, spinach, brassicas) germinate best at 60-65°F
- Warm-season crops (tomatoes, peppers, eggplant) need 75-85°F for optimal germination
- Use a seedling heat mat for heat-loving seeds
- Move seedlings to cooler conditions after germination
- Monitor soil temperature rather than air temperature
PRO TIP: Create temperature zones in your seed starting area – use a heat mat under warm-season crops while keeping cool-season seeds in a cooler spot.
When temperature goes wrong:
| Problem | Cause | Solution |
|---|---|---|
| Seeds rot before germinating | Soil too cold and wet | Use heat mat and reduce watering until germination |
| Germination extremely slow or sporadic | Temperature below optimal range | Provide bottom heat and maintain consistent temperatures |
| Seedlings emerge then stall | Temperature shock | Gradually adjust temperatures after germination |
| Brought to you by: rootedurbanlife.com | ||
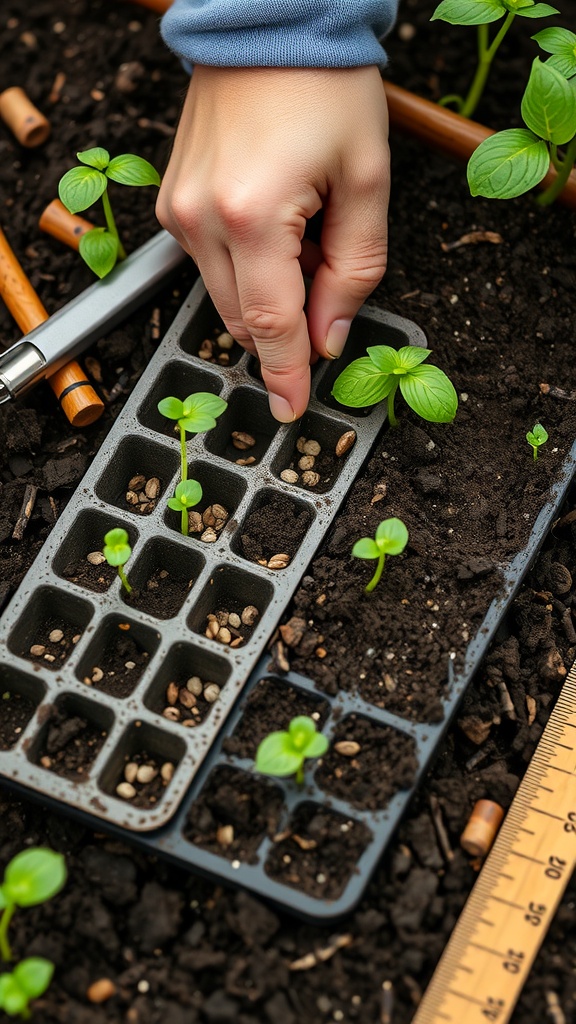
Mistake #5: Planting Seeds at Improper Depths
That tiny seed packet instruction “plant at 1/4 inch depth” matters more than you might think. Planting too deep can exhaust a seed’s energy reserves before reaching the surface, while planting too shallow risks drying it out.
The right approach:
- Follow seed packet depth recommendations precisely
- Generally plant seeds at a depth 2-3 times their diameter
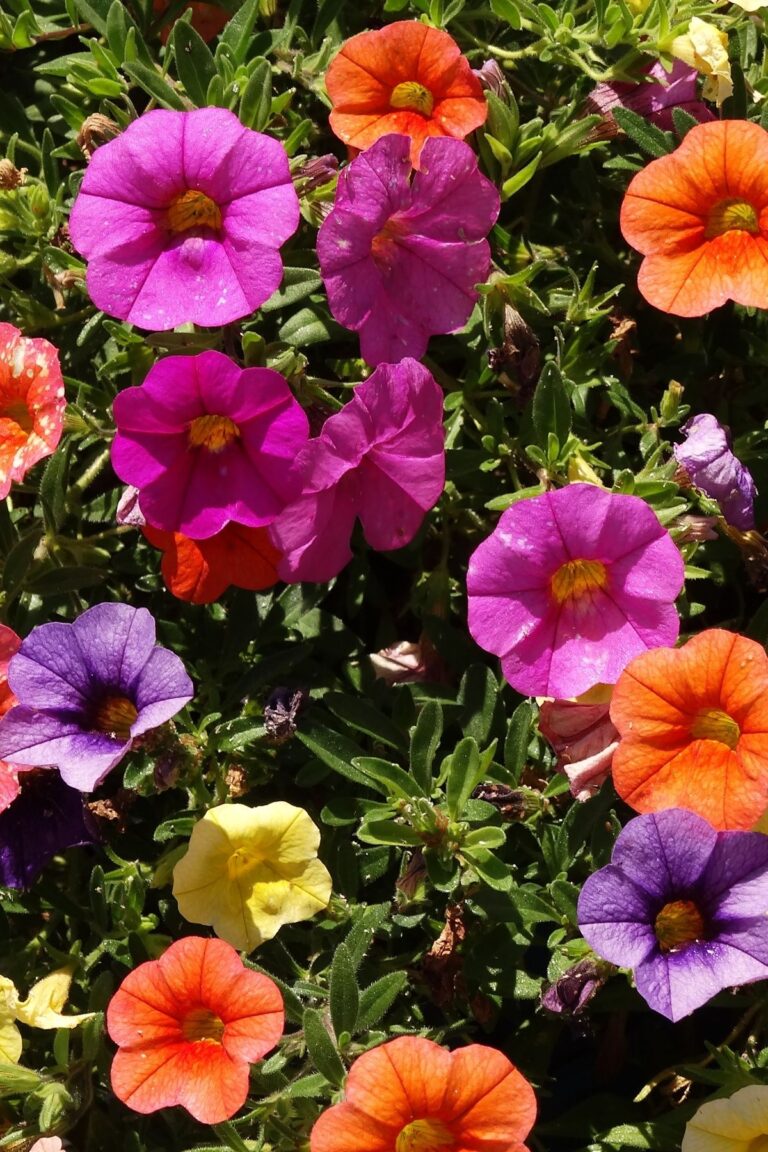
- Tiny seeds (like lettuce, petunias) need light to germinate – press into soil surface without covering
- Medium seeds (tomatoes, brassicas) typically need 1/8 to 1/4 inch depth
- Larger seeds (beans, peas, corn) require 1/2 to 1 inch depth
I’ve learned to create simple depth guides using a pencil or chopstick marked with lines at common planting depths to ensure consistency.
PRO TIP: For very small seeds, mix them with fine sand before sowing to achieve more even distribution and proper spacing.
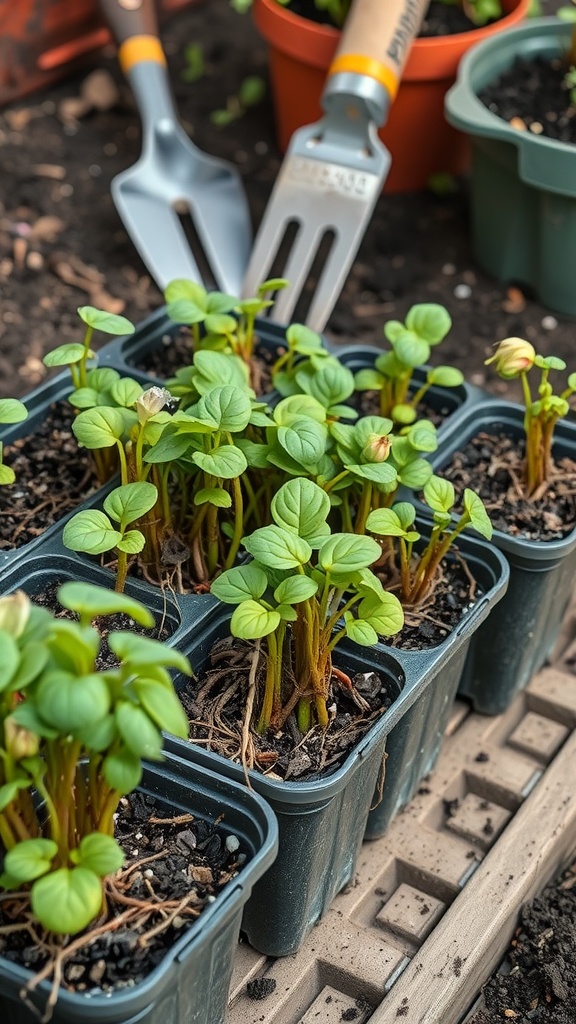
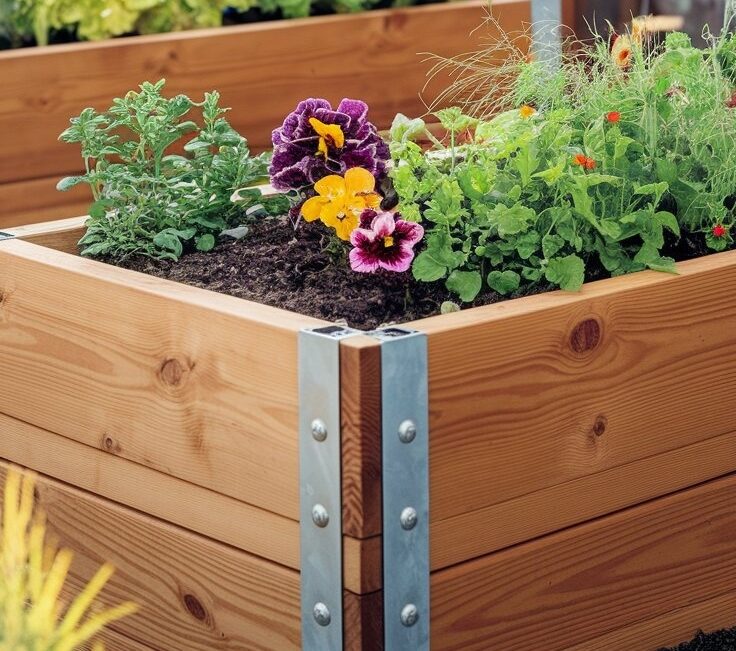
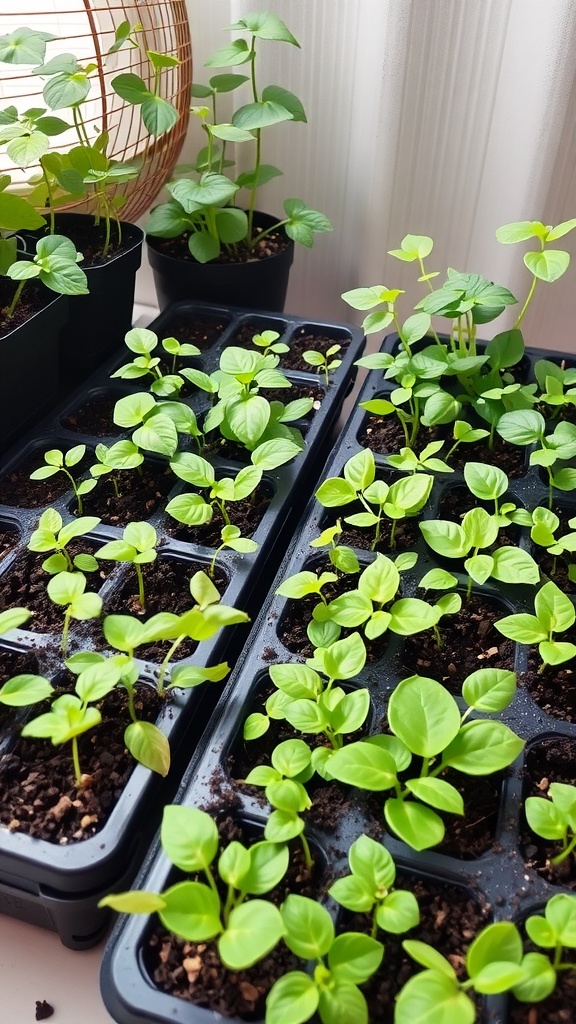
Mistake #6: Overcrowding Seedlings
The temptation to plant multiple seeds per cell “just in case” often leads to overcrowding, which forces seedlings to compete for light, nutrients, and air circulation.
The right approach:
- Follow spacing recommendations on seed packets
- Plant 2-3 seeds per cell maximum, then thin to the strongest seedling
- Thin seedlings when they develop their first true leaves
- Cut unwanted seedlings at soil level rather than pulling (which can disturb remaining roots)
- Provide adequate spacing between cells and trays for air circulation
PRO TIP: Use tweezers or small scissors for precise thinning without disturbing neighboring seedlings.
Mistake #7: Skipping the Hardening Off Process
After weeks of nurturing your seedlings indoors, it’s tempting to plant them directly into the garden. This abrupt transition from protected environment to outdoor conditions is often fatal.
The right approach:
- Begin 7-10 days before planned transplant date
- Start with 1 hour of filtered sunlight on day one
- Increase exposure by 1-2 hours daily
- Protect from wind during initial hardening days
- Bring plants in at night until nighttime temperatures are consistently appropriate
- Reduce watering slightly during hardening off to toughen plants
PRO TIP: A partially shaded porch or dappled tree shade makes an ideal transition spot for the hardening off process.
Mistake #8: Improper Fertilization Timing and Strength
Fertilizing too early, too late, or too strongly can sabotage your seedlings. Young seedlings are particularly vulnerable to fertilizer burn.
The right approach:
- Hold off on fertilizing until seedlings develop their first true leaves
- Start with quarter-strength liquid organic fertilizer
- Increase to half-strength after two weeks
- Apply fertilizer to slightly moist soil to prevent root burn
- Watch for yellowing lower leaves (potential nitrogen deficiency) or burned leaf tips (overfertilization)
I’ve found that a gentle organic fertilizer like fish emulsion (used at quarter strength) provides balanced nutrition without the shock of synthetic fertilizers.
PRO TIP: Keep a spray bottle with diluted fertilizer solution separate from your regular water bottle to avoid confusion.
Mistake #9: Poor Air Circulation
Stagnant air creates the perfect environment for fungal diseases and weak stems. Many seed starting setups neglect this crucial element.
The right approach:
- Use a small fan on low setting near seedlings
- Position fan to create gentle movement (leaves should barely rustle)
- Run fan for at least a few hours daily
- Ensure proper spacing between plants for natural air movement
- Avoid overcrowding seed trays on shelves
Adding a small oscillating fan to my seed starting setup reduced damping off disease by nearly 100% and resulted in stronger, thicker stems.
PRO TIP: If using a fan, you may need to water slightly more often as airflow increases evaporation.
Mistake #10: Starting Seeds at the Wrong Time
Starting too early leads to leggy, rootbound seedlings; too late and plants don’t have time to mature. Timing is everything.
The right approach:
- Calculate based on last frost date for your specific location
- Count backward from transplant date using seed packet information
- Create a custom calendar for different varieties
- Consider your growing season length for warm-season crops
- Allow extra time for slow-germinating seeds like peppers and parsley
I keep a dedicated seed starting calendar that I adjust each year based on the previous year’s notes and our often unpredictable spring weather patterns.
PRO TIP: Rather than starting all seeds of one type on the same day, stagger plantings 1-2 weeks apart for insurance against unexpected conditions.
Key Takeaways
- Use sterile seed starting mix specifically formulated for germination
- Maintain consistent moisture through bottom watering and humidity domes
- Provide intense, direct light positioned 2-3 inches from seedlings
- Start heat-loving crops on a heat mat for faster, more consistent germination
- Begin hardening off seedlings 7-10 days before transplanting
Your seedlings are ready for transplanting when they have 2-3 sets of true leaves, stems are thick enough to gently brush with your finger, and roots have filled the cell without excessive circling.
Common Seed Starting Problems Solved
| Problem | Symptoms | Cause | Solution |
|---|---|---|---|
| Damping off | Seedlings suddenly collapse at soil line | Fungal pathogens, poor air circulation, overwatering | Use sterile mix, improve air circulation, water from bottom |
| Leggy seedlings | Tall, thin stems with large gaps between leaves | Insufficient light | Lower lights, increase duration, use reflectors |
| Yellowing leaves | Lower leaves turning yellow | Nitrogen deficiency or overwatering | Apply dilute fertilizer if plants have true leaves; reduce watering frequency |
| Seedlings not growing | Stunted appearance, no new leaves | Temperature too low, root binding, or nutrient issues | Check temperature, transplant to larger containers, apply dilute fertilizer |
| Curling leaves | Leaves curling under or developing brown edges | Light too intense or fertilizer burn | Raise lights slightly, flush soil with plain water |
| Brought to you by: rootedurbanlife.com | |||
Frequently Asked Questions
Q: When should I start fertilizing my seedlings?
A: Begin with quarter-strength liquid organic fertilizer when the first true leaves appear, increasing to half-strength after two weeks.
Q: How do I know if my seeds are too old to germinate?
A: Conduct a simple germination test by placing 10 seeds between damp paper towels in a plastic bag for a week – if fewer than 6 germinate, buy fresh seeds.
Q: Can I reuse seed starting mix from last year?
A: It’s risky due to potential disease carryover – if you must reuse, bake it at 180°F for 30 minutes first to sterilize.
Q: Why do my seedlings look healthy then suddenly die?
A: This classic symptom of damping-off disease is caused by fungal pathogens – prevent it with sterile media, good air circulation, and avoiding overwatering.
Q: How can I fix leggy seedlings?
A: While prevention is best, you can sometimes salvage leggy seedlings by burying the stems deeper at transplant time (works especially well for tomatoes) and providing more intense light immediately.
Essential Tools for Successful Seed Starting
- Barrina T5 Grow Lights – Affordable full-spectrum lighting that prevents leggy seedlings without breaking the bank
- 10-Pack Seed Trays with Humidity Domes – Maintains perfect moisture levels during critical germination phase
Next Steps in Your Growing Journey
Ready to take your gardening skills further? Explore these related topics:
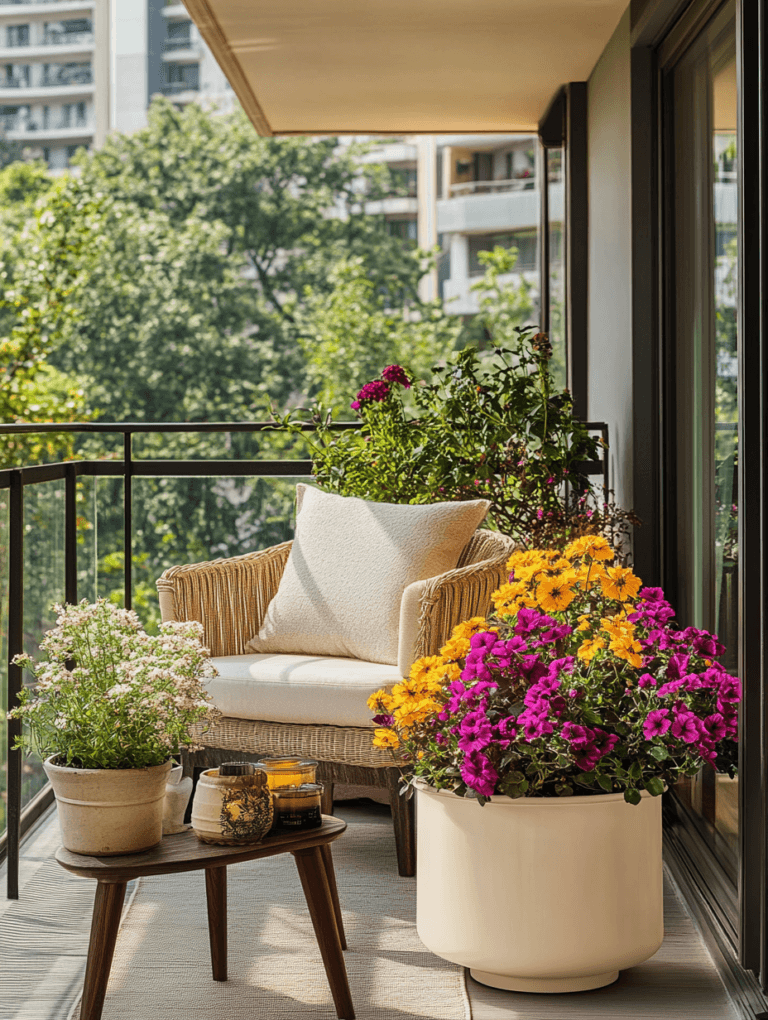
- Solving Beginner Balcony Gardening Challenges: Setting Up For Success
- Master Container Gardening: 10 Plants And Expert Tips For Small Space Success
- Small Space, Big Harvest: 10 Veggies to Grow on Your Balcony
Remember that every seed starting season is a learning opportunity – even professional growers continue to refine their techniques. This weekend, evaluate your current seed starting setup against these common mistakes and implement just one improvement for immediately better results.
Happy growing, and may your germination rates keep improving with each season!
What seed starting mistake taught you the most valuable lesson? Share your experience in the comments!