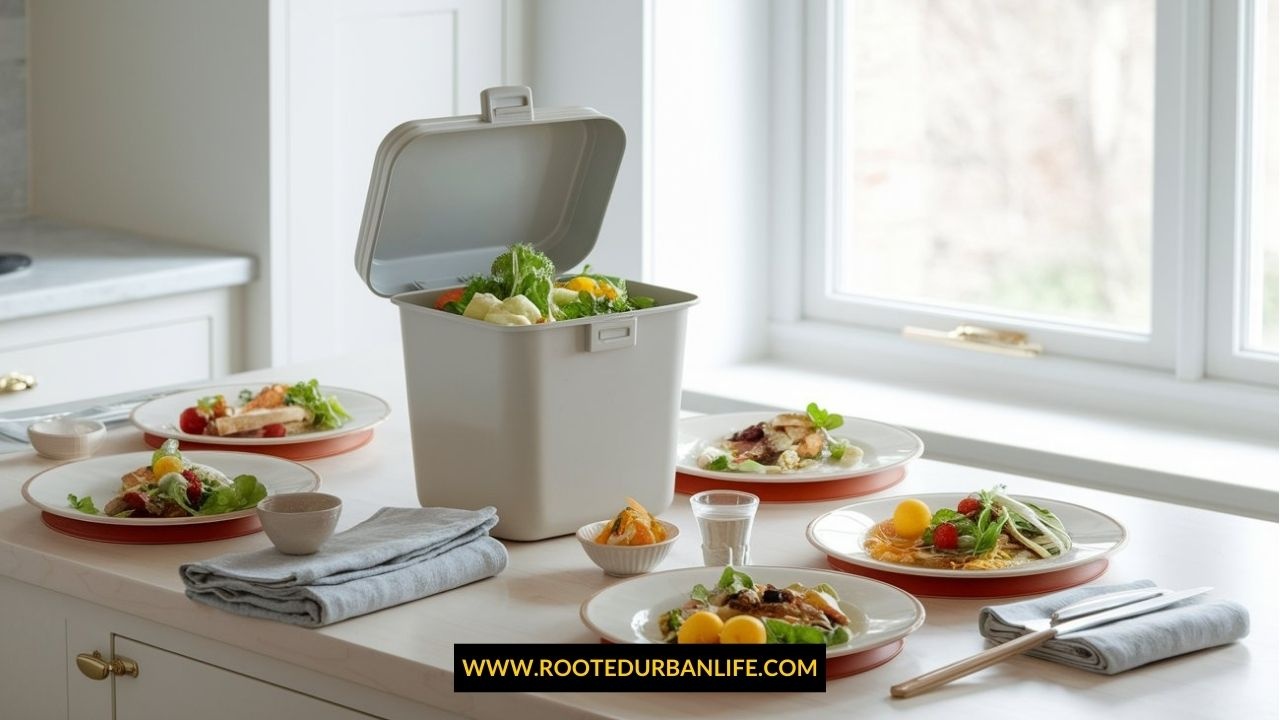
Transform Kitchen Waste Into Garden Gold (Even in the Smallest Space!)
Tired of watching food scraps fill your trash can? Discover how urban composting can revolutionize your waste management—and supercharge your plants—no matter where you live.
The Challenge: In our urban environments, we’ve become disconnected from natural cycles, sending 930 million tonnes of food waste to landfills annually where it produces harmful methane gas instead of nourishing new growth.
What You Will Learn: Urban composting methods specifically designed for apartments, small spaces, and busy lifestyles that transform your everyday kitchen waste into nutrient-rich soil your plants will thrive on.
In this guide, you’ll discover:
- Four space-saving composting methods that work even in the tiniest apartments
- The simple science behind creating perfect compost (without the smell or mess)
- Step-by-step instructions to start your composting journey today
- Troubleshooting tips from seasoned urban composters
Before we dive in — I’ve created a free Compost Scavenger Hunt Printable activity sheet for children you can grab! It’s a fun (and super handy) bonus to help you turn composting into a fun, educational family activity. Click here to get it!
| Disclosure: If you shop from my article or make a purchase through one of my links, I may receive commissions on some of the products I recommend at no additional cost to you. |
1 The Basics: Why Urban Composting Matters
Did you know that approximately 930 million tonnes of food waste end up in landfills annually, with a whopping 61% coming from households like yours? When organic waste decomposes in landfills, it produces methane—a greenhouse gas 25 times more potent than carbon dioxide.
By composting, you’re not just creating nutrient-rich soil for plants; you’re actively fighting climate change from your kitchen counter! Plus, there’s something deeply satisfying about watching yesterday’s coffee grounds and apple cores transform into tomorrow’s garden gold.
2 The Science What Makes Great Compost
Great compost is a beautiful dance between four key elements:
Nitrogen (The Greens)
Think of nitrogen as the energy drink for the microorganisms doing the decomposition work. Your fruit and vegetable scraps, coffee grounds, and fresh plant trimmings provide this essential element. These “green” materials give microbes the protein they need to multiply and break down organic matter.
Carbon (The Browns)
Carbon materials—dried leaves, cardboard, paper, and wood chips—provide the fuel that generates energy for decomposition. These “brown” materials create air pockets in your compost, preventing it from becoming a soggy mess.
Pro Tip: Aim for a carbon-to-nitrogen ratio of about 3:1 (three parts carbon to one part nitrogen). This balance ensures efficient decomposition without unpleasant odors.
Oxygen
Your compost microbes breathe just like we do! Regular turning or mixing ensures oxygen reaches throughout your compost pile, keeping the beneficial aerobic bacteria happy and working efficiently. Without oxygen, anaerobic bacteria take over, creating unpleasant smells and slowing down the process.
Moisture
Think “damp sponge”—that’s the perfect moisture level for your compost. Too dry, and decomposition slows to a crawl. Too wet, and you’ll create anaerobic conditions (and unwanted odors). A simple squeeze test works best: the material should feel like a wrung-out sponge—damp but not dripping.
3 What Can (and Can’t) Be Composted
Compost These (Green Materials):
- Fruit and vegetable scraps
- Coffee grounds and filters
- Tea bags (remove staples)
- Fresh plant trimmings
- Eggshells (crushed)
Compost These (Brown Materials):
- Dry leaves and plant material
- Cardboard (torn into small pieces)
- Paper (non-glossy)
- Paper towel rolls
- Napkins and paper towels (unsoiled)
Keep These Out of Your Compost:
- Meat and fish scraps (attracts pests)
- Dairy products (causes odors)
- Oils and fats (slows decomposition)
- Pet waste (potential pathogens)
- Diseased plants
- Anything treated with pesticides
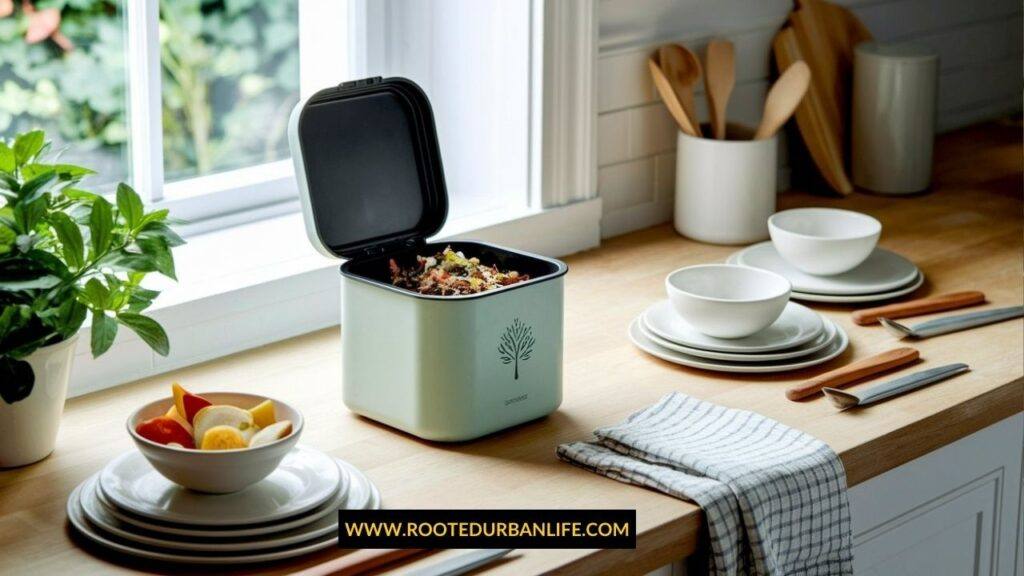
4 Urban Composting Methods
Vermicomposting: Let the Worms Do The Work
Vermicomposting uses red wiggler worms to transform kitchen scraps into rich, nutrient-dense castings (worm poop, which is basically plant superfood). This method is perfect for apartments—it’s compact, virtually odorless when maintained properly, and can even live under your kitchen sink!
DIY Worm Bin in 7 Simple Steps
- Get a plastic bin with a lid (around 10-14 gallons works well for beginners)
- Drill small holes in the bottom and sides for drainage and airflow
- Create bedding with damp, shredded newspaper or cardboard
- Add your worm team (about 1 pound of red wigglers, available online)
- Feed them small amounts of food scraps, buried in different spots
- Cover food with bedding to prevent fruit flies
- Harvest castings every 3-4 months by moving contents to one side and adding fresh bedding to the other
Remember: Worms eat approximately half their weight in food daily. For 1 pound of worms, feed about ½ pound of scraps per week.
Bokhashi Composting: The Odorless Fermenter
Bokashi uses beneficial microorganisms to ferment (rather than decompose) your kitchen waste—including meat and dairy that traditional composting can’t handle. It’s virtually odorless and incredibly fast, taking only about two weeks to process waste
DIY Bokhashi System
- Get two 5-gallon buckets that nest together (drill drainage holes in the inner bucket)
- Purchase Bokashi bran (the microbe-rich starter)
- Add a layer of bran at the bottom of the inner bucket
- Add food waste, sprinkling bran between layers
- Press down to remove air pockets
- Keep lid tightly sealed except when adding waste
- Drain liquid every few days (this makes excellent diluted plant fertilizer!)
- When full, seal for two weeks to complete fermentation
- The result needs to be buried in soil or added to a traditional compost pile to finish breaking down
Balcony / Patio Composting: Small Scale Outdoor options
Even a small outdoor space can host a compact composting system. Tumbling composters are particularly well-suited for balconies—they’re contained, easy to turn, and can produce finished compost in as little as 4-6 weeks with proper care.
Setting Up Your Outdoor System
- Choose a spot that gets some sun (helps speed decomposition)
- Start with a layer of brown materials at the bottom
- Add alternating layers of greens and browns (like lasagna!)
- Keep moisture consistent—like that damp sponge we talked about
- Turn or tumble contents weekly for faster decomposition
- Harvest finished compost when it’s dark, crumbly, and earthy-smelling
Balcony Tip: Consider a compact tumbler or a specially designed urban composting bin that fits your space constraints.
Community Composting: Joining Forces
Not ready to manage your own system? Many cities now offer community composting options:
- Drop-off programs: Collect scraps in a countertop container and bring them to a designated community site weekly
- Community garden partnerships: Many urban gardens welcome additional compost materials
- Subscription services: Some cities have services that will pick up your compost for a small fee
- Workshops and events: Learn while contributing to a community pile
Check with your local environmental department, community gardens, or farmers markets to find programs near you.
5 DIY Or Ready-Made: Your Choice
Short on time or prefer convenience? While these DIY approaches offer tremendous satisfaction and cost savings, some situations call for ready-made alternatives. Here is a comparison to help you decide what works for you and your lifestyle.
| Aspect | DIY Composting Bin | Commercial Options |
|---|---|---|
| Cost | $5-20 in materials | $40-120 investment |
| Time Investment | 1-2 hours to build | Ready in minutes |
| Customization | Fully adaptable to your space | Limited to manufacturer design |
| Aesthetics | Utilitarian unless decorated | Often designed to complement home decor |
| Durability | Varies with materials used | Typically 3-5+ years of use |
| Maintenance | May require occasional repairs | Usually more durable components |
| Sustainability | Repurposes existing materials | New production but often recyclable |
| Learning Value | Deeper understanding of the system | Faster path to successful composting |
| Brought to you by rootedurbanlife.com | ||
These commercial composting solutions offer excellent value for those preferring ready-made systems:
- The Worm Factory 360 is a stackable vermicomposting system with a compact footprint, perfect for indoor/apartments.
- The FCMP Outdoor Tumbling Composter has a space-efficient design, making turning effortless.
- OXO Good Grips Easy-Clean Compost Bin is the perfect choice for a counter top collector thanks to its compact design.
- SCD Probiotics KIT includes everything you need to start composting with the Bokashi method.
6 Caring for Your Compost
Successful composting requires some monitoring and maintenance:
- Check moisture regularly: Add water if too dry, more browns if too wet
- Turn or mix at least weekly: This adds oxygen and speeds decomposition
- Monitor temperature: A warm (not hot) compost pile indicates active decomposition
- Chop larger items: Smaller pieces break down faster
- Balance your greens and browns: Adjust if you notice issues

7 Troubleshooting Common Problems
| Problem | Likely Cause | Solution |
|---|---|---|
| Unpleasant odor | Too wet, too many greens, or not enough oxygen | Add brown materials, turn more frequently |
| Slow decomposition | Too dry or not enough green materials | Add water and more nitrogen-rich materials |
| Attracting pests | Meat/dairy in pile or bin not properly sealed | Remove problematic items, secure bin, bury food scraps deeper |
| Fruit flies | Exposed food scraps | Cover fresh materials with browns, use a tight-fitting lid |
| Too wet/slimy | Too many wet green materials, poor drainage | Add dry browns, improve drainage, turn more often |
| Brought to you by rootedurbanlife.com | ||
8 Making Composting Fun for Children
Composting offers wonderful learning opportunities for children:
- Create a “Compost Detective” chart to track what goes in and how it changes
- Assign kid-friendly tasks like collecting scraps or turning the compost
- Use a clear container for part of your system to watch decomposition happen
- Hold “worm races” (with vermicomposting) or look for interesting creatures
- Measure temperature changes with a compost thermometer
- Use the finished compost to grow plants together
Children naturally love the “gross” and fascinating process of decomposition—harness that interest to teach sustainability!
And teaching them about composting just got a lot more fun! Download the free Compost Scavenger Hunt Printable here!
9 FAQ
Q: How long until I have usable compost?
A: It varies by method. Vermicomposting produces usable castings in 2-3 months. Bokashi ferments in 2 weeks but needs additional time in soil. Traditional composting takes 2-6 months depending on conditions and how often you turn it.
Q: How do I know when my compost is ready?
A: Finished compost is dark brown, crumbly, and smells earthy—like fresh forest soil. You shouldn’t recognize any original materials except perhaps some eggshells or woody pieces.
Q: Can I compost in winter?
A: Yes! Indoor methods work year-round. Outdoor composting slows during cold weather but doesn’t stop completely, especially in tumbling systems.
Q: What if I produce more scraps than my system can handle?
A: Consider combining methods (like having both a worm bin and community drop-off) or freezing excess scraps until you have room.
Q: How do I use my finished compost?
A: Mix into potting soil (about 25% compost), use as a top dressing for houseplants, brew compost tea for liquid fertilizer, or share with neighbors and community gardens!
10 Key Takeaways
- Urban composting works in any space—apartments, balconies, or through community programs
- Success depends on balancing greens (nitrogen) and browns (carbon) with proper moisture and oxygen
- Choose what fits your lifestyle: worm bins for indoor spaces, Bokashi for including meat/dairy, tumblers for balconies
- Most problems are solved by adjusting moisture, aeration, or green-to-brown ratios
- Start small—even composting a portion of your kitchen waste makes a significant environmental impact
- Children love participating, gaining hands-on science education while developing environmental awareness
11 Next Steps: Putting Your Compost to Work
Once you’ve mastered the art of urban composting, put that black gold to use:
- Start a balcony herb garden
- Master container gardening on your balcony
- Nourish your houseplants with homemade compost
- Create a small raised bed if you have the space
Ready to transform your kitchen scraps into garden treasure? Start with whichever method best fits your space and lifestyle. The earth will thank you, your plants will thrive, and you’ll discover the satisfaction of completing nature’s perfect cycle—even in the heart of the city.
Help young gardeners discover the magic of composting!
👉 Get your free Compost Scavenger Hunt Printable and make learning hands-on and exciting.
Share your composting journey with us in the comments below or tag us on social media with your urban composting setups. We’d love to see how you’re making a difference!
Subscribe to our blog for more sustainable urban living tips and tricks.