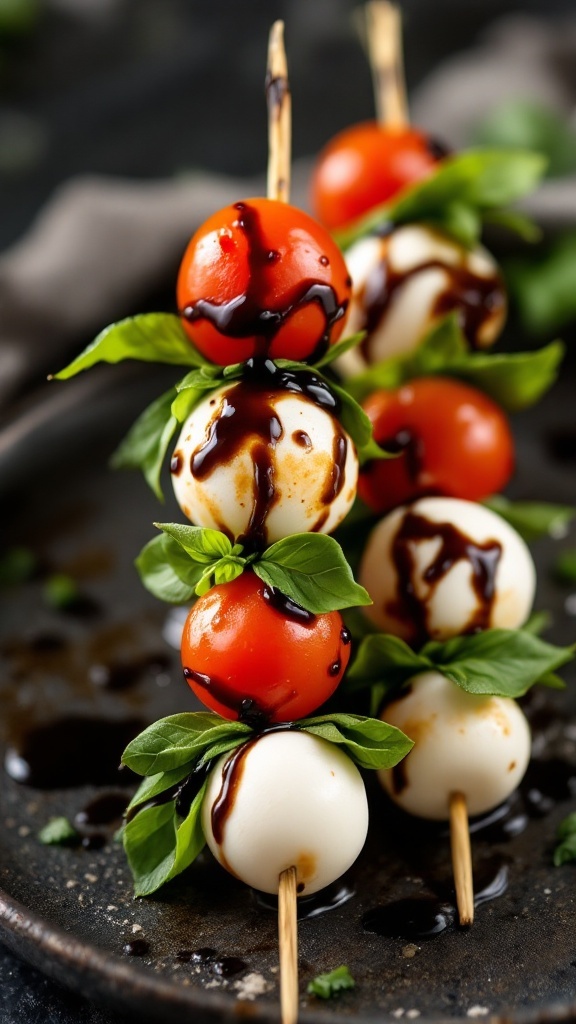
Roasted Vegetable Skewers
Say goodbye to soggy, unevenly cooked vegetable skewers. These rainbow-bright roasted vegetable kabobs deliver the perfect char on the outside while maintaining a delightful tenderness inside. Whether you’re hosting a summer BBQ or craving grilled flavors during winter months, these skewers work beautifully in both the oven and on the grill. They’re endlessly customizable, making them perfect for both planned dinners and using up those extra vegetables in your crisper drawer.
What Makes These Skewers Special
While vegetable skewers might seem basic, the magic lies in our unique marinade and cooking technique. We’ll use a Mediterranean-inspired herb and citrus marinade that doesn’t just coat the vegetables – it actually penetrates them, infusing every bite with flavor. The carefully planned cutting techniques and arrangement ensure even cooking, solving the common problem of having some vegetables charred while others remain raw. Plus, these skewers are naturally vegan, gluten-free, and can be prepared ahead of time, making them perfect for entertaining guests with various dietary preferences.
Kitchen Essentials
For perfect roasted vegetable skewers, you’ll need these basic tools:
- Metal Skewers – Preferred for better heat conduction and reusability. If using wooden skewers instead, soak them for 30 minutes before use.
- Large Cutting Board – Provides ample space for uniform vegetable preparation. A wooden or plastic board at least 12×16 inches works best.
- Chef’s Knife – Essential for clean, precise cuts that ensure even cooking.
- Rimmed Baking Sheet – For oven roasting. Choose one with a low rim to allow proper air circulation.
- Pastry Brush – Used for basting vegetables with marinade during cooking.
- Medium Bowls (2) – One for marinating and another for tossing cut vegetables.
- Optional: Grill Basket – Helpful when grilling, prevents smaller pieces from falling through the grates.
Ingredients & Preparation
For the Skewers:
- 2 medium zucchini, cut into 1-inch thick half-moons
- 2 red bell peppers, cut into 1.5-inch squares
- 1 large red onion, cut into 1-inch chunks
- 2 cups cherry tomatoes, whole
- 8 ounces button mushrooms, cleaned and halved if large
- 1 small eggplant, cut into 1-inch cubes
For the Marinade:
- ¼ cup extra virgin olive oil
- 3 tablespoons fresh lemon juice
- 4 cloves garlic, minced
- 1 tablespoon dried oregano
- 1 teaspoon dried thyme
- 1 teaspoon smoked paprika
- 1 teaspoon sea salt
- ½ teaspoon freshly ground black pepper
The key to perfect vegetable skewers lies in how you cut your vegetables. Uniform size is crucial – aim for roughly 1-1.5 inch pieces for everything except cherry tomatoes, which can stay whole. The zucchini half-moons and pepper squares should be similar in thickness to ensure even cooking. When cutting the onion, keep the chunks together rather than separating the layers, which helps them stay intact during cooking.
Pro Tips for Perfect Results
Success with vegetable skewers comes down to three critical factors: preparation, arrangement, and cooking technique. First, always toss your cut vegetables with salt 15 minutes before marinating – this draws out excess moisture and helps them achieve better caramelization. When arranging vegetables on skewers, avoid cramming them together; leave small gaps between pieces to ensure heat circulates properly. For optimal flavor absorption, marinate vegetables for at least 30 minutes but no more than 2 hours – any longer and they can become too soft.
The most common mistake is cooking at too high a temperature. Whether using an oven or grill, maintain a medium-high heat (around 400°F/200°C) to allow vegetables to cook through before the outside burns. Finally, resist the urge to move the skewers too frequently; giving them time to develop a nice char on each side is key to flavor development.
Method Instructions
- If using wooden skewers, soak them in water for at least 30 minutes before use.
- Prepare the marinade by whisking together olive oil, lemon juice, minced garlic, oregano, thyme, smoked paprika, salt, and pepper in a medium bowl.
- Cut all vegetables as directed, keeping sizes uniform. Place in a large bowl and toss with half the marinade. Let stand for 30 minutes at room temperature.
- Preheat your oven to 400°F (200°C) or prepare grill for medium-high heat cooking.
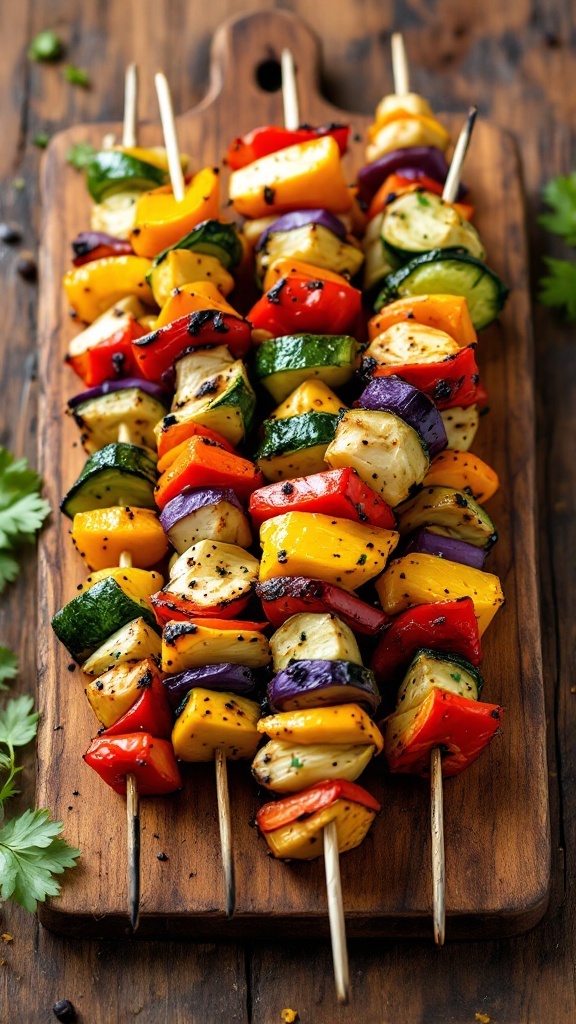
- Thread vegetables onto skewers in a repeating pattern, leaving small gaps between pieces. For visual appeal and even cooking, alternate colors and textures.
- For Oven Roasting:
- Place skewers on a lined baking sheet
- Roast for 20-25 minutes, turning once halfway through
- Brush with remaining marinade after turning
- For Grilling:
- Place skewers on preheated grill
- Cook for 12-15 minutes, turning every 4-5 minutes
- Brush with remaining marinade with each turn
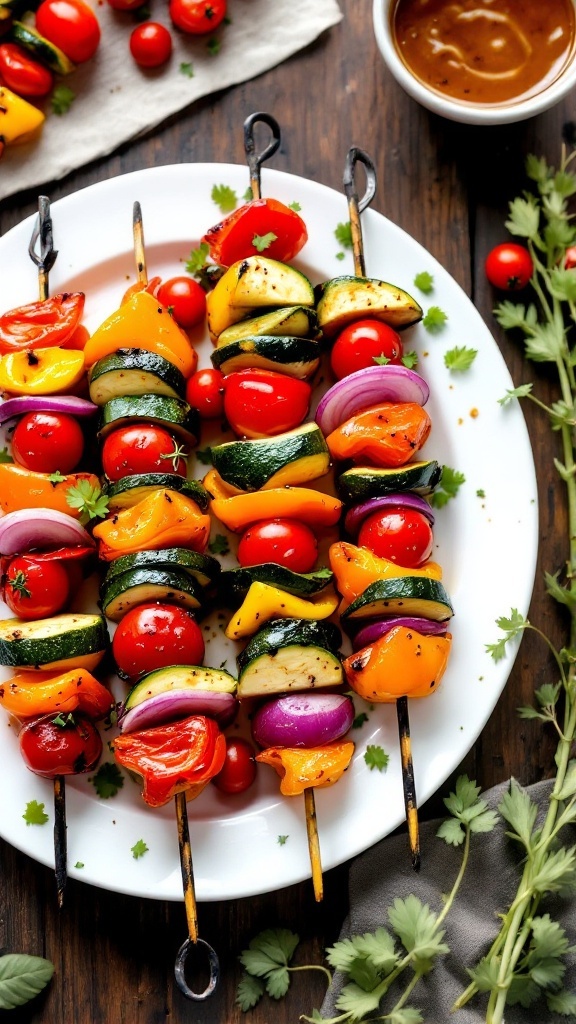
Vegetables are done when they’re tender-crisp with light char marks, and a fork easily pierces the densest pieces
Creative Variations & Make It Your Own
Mediterranean Style:
- Add chunks of halloumi cheese between vegetables
- Include artichoke hearts and olives
- Use herbs de Provence in the marinade
Asian-Inspired:
- Swap marinade for a mixture of sesame oil, soy sauce, and ginger
- Add baby corn and water chestnuts
- Brush with teriyaki sauce while cooking
Seasonal Specialties:
- Spring: Asparagus, spring onions, and baby carrots
- Summer: Sweet corn chunks, summer squash, and cherry tomatoes
- Fall: Brussels sprouts, butternut squash, and red onions
- Winter: Parsnips, sweet potatoes, and whole garlic cloves
Strategic Planning & Time-Saving Tips
Prep vegetables up to 24 hours in advance and store in airtight containers in the refrigerator. The marinade can be made up to 3 days ahead and stored separately. For easy assembly, organize cut vegetables in groups on a large tray – this creates an efficient “assembly line” for skewering. If serving a crowd, pre-skewer vegetables several hours ahead and refrigerate, bringing them to room temperature 30 minutes before cooking.
Storage & Make-Ahead Solutions
Cooked vegetable skewers keep well in an airtight container in the refrigerator for up to 3 days. To reheat, place in a 350°F (175°C) oven for 5-7 minutes until warmed through. While you can freeze the cooked vegetables, the texture may become softer upon thawing, so it’s best to enjoy them fresh. If you must freeze, remove vegetables from skewers and store in an airtight container for up to 2 months.
Serving Suggestions & Food Pairings
Serve these vibrant skewers over a bed of herbed couscous or quinoa to soak up the flavorful marinade. They pair beautifully with:
- Grilled flatbreads or pita
- Homemade tzatziki or hummus
- Fresh herb salad
- Lemon-herb rice pilaf
- Grilled halloumi cheese
For a complete Mediterranean feast, serve alongside falafel or grilled fish. A crisp white wine like Pinot Grigio or Sauvignon Blanc makes an excellent beverage pairing.
Seasonal Adaptations
While these skewers shine during grilling season, they’re equally delicious year-round. In winter, use heartier vegetables that hold up well to roasting, such as Brussels sprouts, parsnips, and sweet potatoes. During summer, take advantage of peak-season produce like cherry tomatoes, zucchini, and bell peppers. Adjust cooking times slightly for seasonal vegetables – winter varieties typically need a few extra minutes to become tender.
FAQ
Q: Why are my vegetables cooking unevenly?
A: Ensure all pieces are cut to similar sizes and avoid overcrowding on skewers. Leave small gaps between pieces for even heat circulation.
Q: Can I prepare these skewers ahead for a party?
A: Yes! Cut vegetables and prepare marinade up to 24 hours ahead. Assemble skewers up to 4 hours before cooking, storing covered in the refrigerator.
Q: How do I prevent vegetables from spinning on the skewers?
A: Use flat or square metal skewers, or use two parallel wooden skewers for each kabob to keep vegetables stable.
Q: What’s the best way to avoid broken wooden skewers?
A: Soak wooden skewers in water for at least 30 minutes before use, and avoid overloading them with heavy vegetables.
Roasted Vegetables Skewers
Ingredients
- 2 medium zucchini cut into 1-inch thick half-moons
- 2 red bell peppers cut into 1.5-inch squares
- 1 large red onion cut into 1-inch chunks
- 2 cups cherry tomatoes whole
- 8 ounces button mushrooms cleaned and halved if large
- 1 small eggplant cut into 1-inch cubes
For the marinade
- ¼ cup extra virgin olive oil
- 3 tablespoons fresh lemon juice
- 4 cloves garlic minced
- 1 tablespoon dried oregano
- 1 teaspoon dried thyme
- 1 teaspoon smoked paprika
- 1 teaspoon sea salt
- ½ teaspoon freshly ground black pepper
Instructions
- If using wooden skewers, soak them in water for at least 30 minutes before use.
- Prepare the marinade by whisking together olive oil, lemon juice, minced garlic, oregano, thyme, smoked paprika, salt, and pepper in a medium bowl.
- Cut all vegetables as directed, keeping sizes uniform. Place in a large bowl and toss with half the marinade. Let stand for 30 minutes at room temperature.
- Preheat your oven to 400°F (200°C) or prepare grill for medium-high heat cooking.
- Thread vegetables onto skewers in a repeating pattern, leaving small gaps between pieces. For visual appeal and even cooking, alternate colors and textures.
For Oven Roasting:
- Place skewers on a lined baking sheet
- Roast for 20-25 minutes, turning once halfway through
- Brush with remaining marinade after turning
For Grilling:
- Place skewers on preheated grill
- Cook for 12-15 minutes, turning every 4-5 minutes
- Brush with remaining marinade with each turn
Remember, the key to perfect vegetable skewers lies in uniform cutting, proper marinade time, and attentive cooking. Don’t rush the process – those beautiful char marks and tender-crisp textures are worth the extra care!