
Transform Your Meals with Nutrient-Packed Microgreens – Ready in Just 1 Week!
Discover the easiest way to boost your health and flavor your dishes with home-grown microgreens!
Start Your Green Revolution Now With Our Free Guide!
Problem:
- Tired of expensive, store-bought greens that lose their nutrients by the time you eat them?
What You Will Learn:
Grow your own microgreens for a continuous supply of fresh, nutrient-rich greens right from your home.
Microgreens can contain up to 40 times more nutrients than their mature counterparts. With this simple guide, you’ll master microgreens in no time, ensuring you always have the freshest greens at your fingertips.
Elevate Your Nutrition with Microgreens – The Simple, Space-Saving Solution
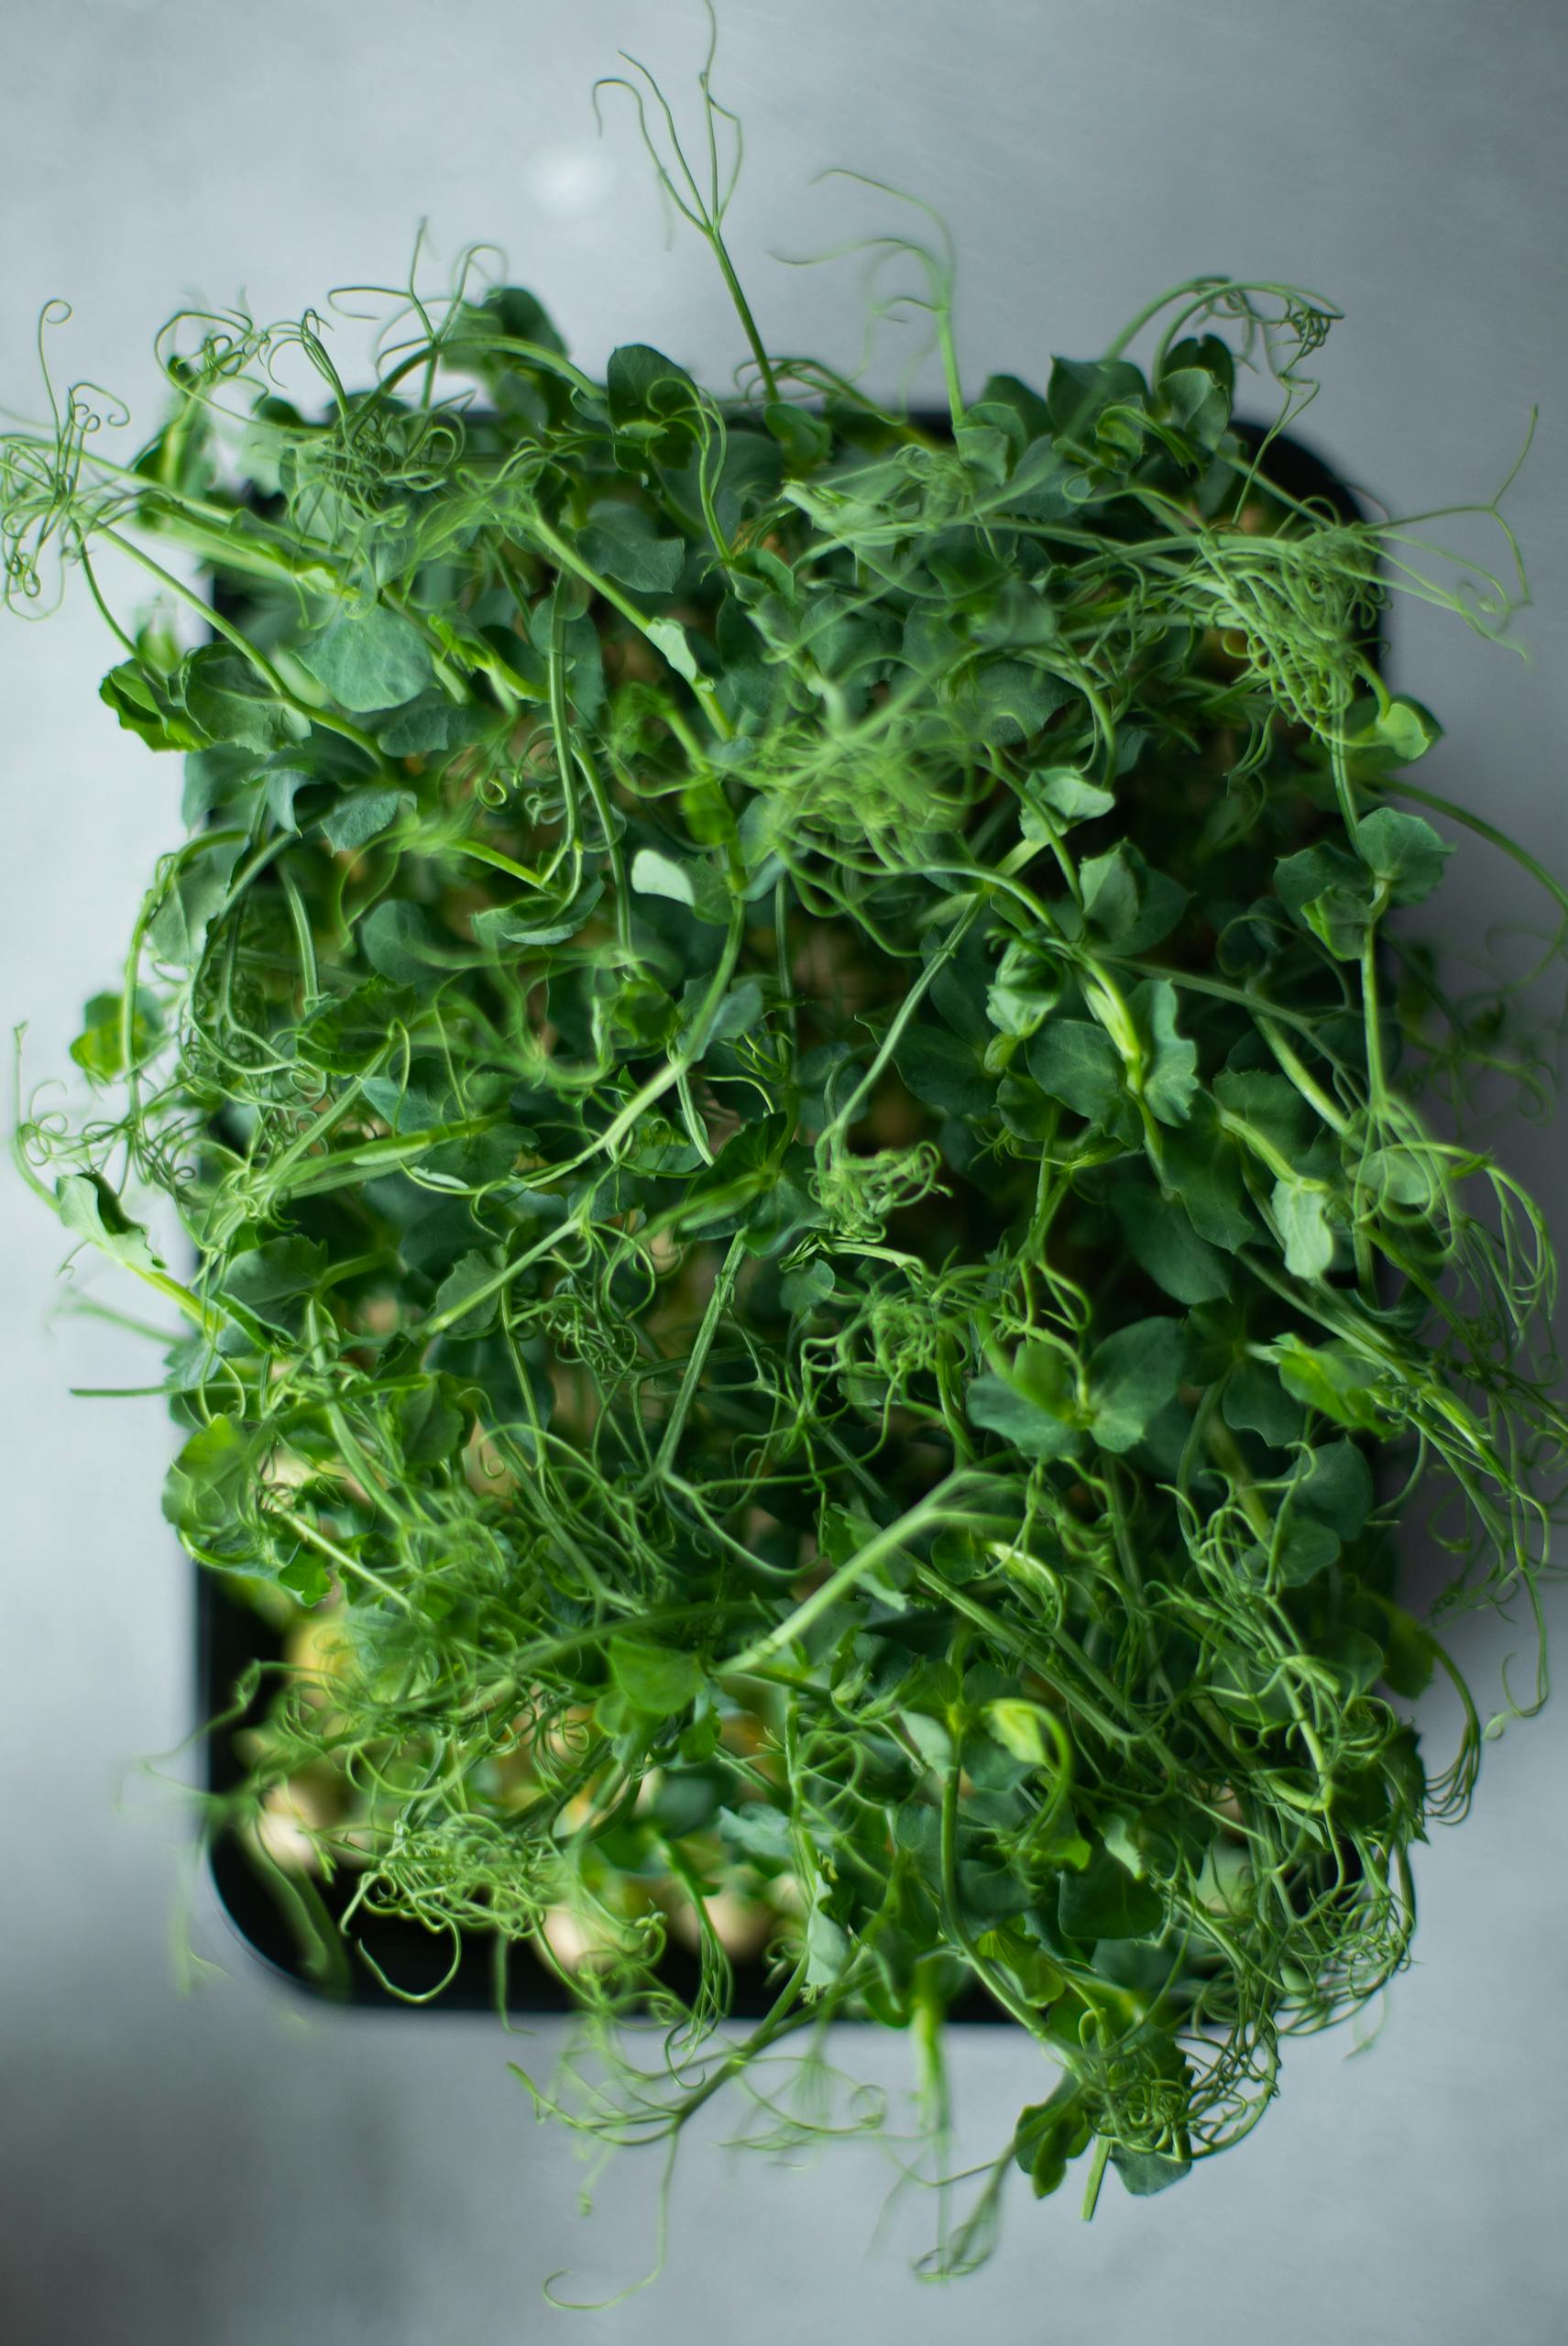
Microgreens aren’t just a trend; they’re a game-changer for your meals. Imagine adding a burst of flavor and a powerhouse of nutrition to your plate. Harvested just as their first leaves develop, these tiny greens are not only quick to grow but also manageable even if you’re new to gardening. They’re bursting with vitamins C, E, K, and a host of minerals and antioxidants.
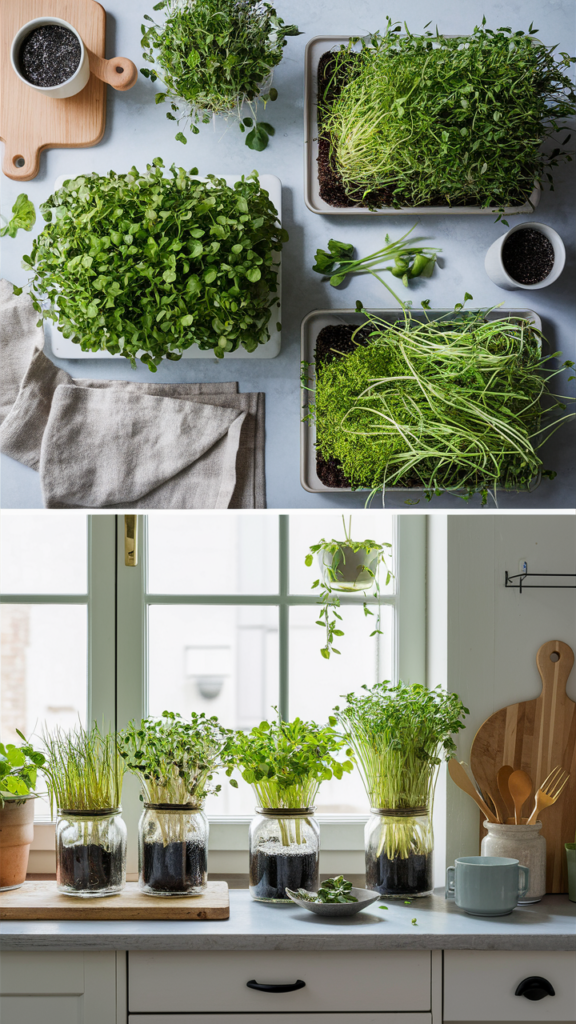
Best of all, growing microgreens is a breeze indoors, requiring minimal space – just a windowsill or small table will do. While they won’t replace mature greens, they’re an excellent complement, ensuring you get your dose of nutrients year-round. With this guide, you’ll master the art of growing microgreens, enhancing both your health and culinary experience.
How To Get Started Growing Microgreens
To grow microgreens successfully, you need to keep a few simple things in mind.
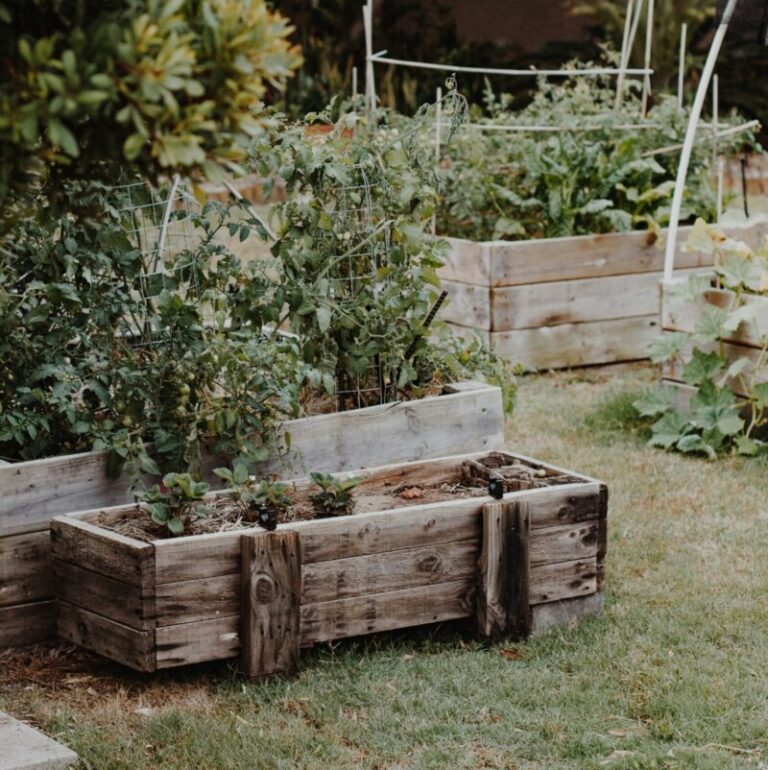
- Select a growing spot that is stable and away from busy areas. A small table, windowsill, or empty shelf can work well.
- Use shallow trays designed for microgreens or repurpose containers like take-out boxes or egg cartons. Ensure they can hold soil and water.
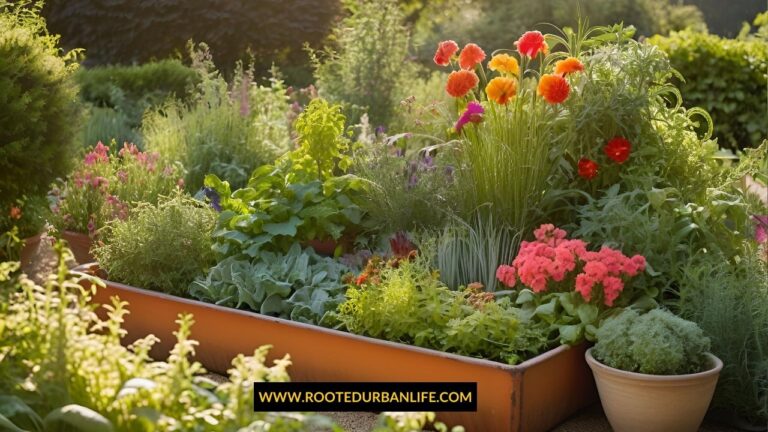
- Pick the right growing medium. Look for something that retains moisture yet drains well, like soil mixes, coconut coir, or peat moss.
- Ensure proper lighting. While natural light helps in spring, you might need LED grow lights in winter. They provide the right light without generating too much heat.
- Keep a steady temperature between 60-70 degrees Fahrenheit for the best growth.
How To Grow Microgreens Step-By-Step
Growing microgreens is simple and rewarding. Here’s how you can do it:
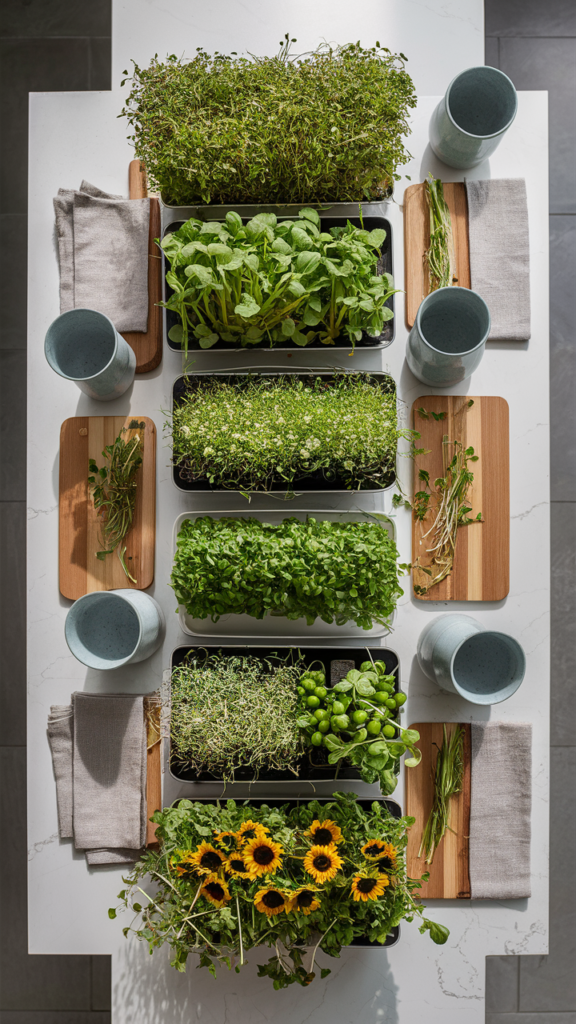
- Choose Your Seeds: Select unprocessed seeds. Great options include:
- Radish: Quick to grow, ready in about a week.
- Sunflower: Mild taste and grows fast.
- Pea Shoots: Sweet flavor and grows quickly.
- Broccoli: Nutrient-rich and easy to cultivate.
- Basil: A bit slower but manageable for beginners.
- Prepare Your Containers: Use shallow trays with drainage holes.
- Add Soil: Fill the tray with a few inches of seed-starting soil.
- Plant the Seeds: Scatter them evenly and cover lightly with soil.
- Select high-quality seeds marked for microgreens.
- Disperse the seeds evenly on your moist growing medium.
- Lightly press the seeds into the soil, avoiding deep placement.
- Water and Care: Mist the soil lightly and cover the tray to keep it dark until germination.
- Keep the soil damp, but don’t drown the plants to avoid mold and other fungal problems.
- Use a spray bottle to water seeds gently so you don’t disrupt them.
- As the seedlings develop, their roots will reach for moisture deeper in the soil.
- Harvest: Once the greens are a few inches tall, cut them just above the soil line.
- Microgreens are ready to harvest in 1 to 3 weeks. Check the seed packet for guidance.
- Look for the first set of true leaves, which show they are mature.
- Use scissors to cut them just above the soil line.
- For the best taste and nutrients, harvest them in the morning after they have rested overnight
Common Pitfalls in Growing Microgreens:
- Overcrowding Seeds:
- Problem: Too many seeds in one tray leads to competition for light and nutrients, resulting in weak, leggy growth.
- Solution: Follow seed packet instructions for spacing or aim for about 10-20 seeds per square inch, depending on the seed size.
- Overwatering or Underwatering:
- Problem: Overwatering can lead to mold and root rot; underwatering can stunt growth or kill the plants.
- Solution: Use a spray bottle for gentle watering. The soil should be moist but not soggy. Check daily, especially in the first week after planting.
- Poor Light Exposure:
- Problem: Insufficient light leads to pale, weak plants or poor germination.
- Solution: Ensure at least 4-6 hours of direct sunlight or use LED grow lights if natural light is inadequate. Keep lights close but not too close to avoid burning.
- Temperature Fluctuations:
- Problem: Too hot or too cold can inhibit growth or cause bolting (premature flowering).
- Solution: Maintain a consistent temperature between 60-70°F. Avoid placing trays near direct heat sources or drafty windows.
- Mold and Fungus Growth:
- Problem: High humidity or poor air circulation can promote mold.
- Solution: Use fans to improve air circulation, ensure trays aren’t too close together, and don’t overwater. Consider using a hydrogen peroxide solution (1 part peroxide to 5 parts water) as a preventive measure.
- Neglecting Hygiene:
- Problem: Using dirty trays or soil can introduce pests or diseases.
- Solution: Sterilize trays between uses, either in boiling water or with bleach solution, and use fresh soil or soilless mix for each planting.
Harvesting Tips for Microgreens:
- Timing the Harvest:
- Harvest when the first true leaves appear (not just the cotyledons). This is usually 1-3 weeks after planting, but check your seed type for specific timing.
- Harvesting Tools:
- Use clean, sharp scissors or a sharp knife. This prevents bruising the greens and allows for a clean cut.
- Cutting Technique:
- Cut just above the soil line to maximize the usable part of the plant. Avoid pulling or uprooting which can introduce soil into your harvest.
- Harvest Time:
- Morning is ideal as this is when the plants are most hydrated and nutrient levels are at their peak. Avoid harvesting in the heat of the day.
- Post-Harvest Handling:
- Immediately after cutting, rinse microgreens under cold water to remove any soil or debris. Gently shake off excess water or use a salad spinner to dry without damaging the greens.
- Storage:
- Use a clean, dry container lined with a paper towel to absorb excess moisture. Store in the refrigerator; they should last 5-7 days. For longer storage, consider blanching and freezing.
For delicious ways to enjoy your freshly harvested microgreens, check out our recipes here [link to recipe posts].
Ready to transform your diet? Get our recommended microgreens starter kit here.
FAQs
Q: How much light do microgreens need?
A: Microgreens need about 4-6 hours of natural sunlight per day. If natural light is limited, especially in winter, using LED grow lights can ensure they receive adequate light.
Q: What kind of containers can I use to grow microgreens?
A: You can use shallow trays, repurposed containers, or even eco-friendly options like egg cartons and biodegradable pots. Make sure they can hold soil and drain water properly.
Q: How do I prepare the growing medium for microgreens?
A: Use a high-quality soil or soilless mix like coconut coir or peat moss. Moisten the medium before planting your seeds to ensure even hydration.
Q: How often should I water my microgreens?
A: Watering needs to be consistent but moderate. Keep the soil moist but not waterlogged. A spray bottle is ideal for gentle, even watering.
Q: Can I grow multiple types of microgreens together?
A: Yes, you can grow multiple types together, but it’s best to group microgreens with similar growth rates and requirements to ensure even harvesting.
Q: Are microgreens the same as sprouts?
A: No, microgreens and sprouts are different. Sprouts are germinated seeds grown in water and harvested in a few days, while microgreens are grown in soil and harvested when they develop their first true leaves.
Q: What are the health benefits of eating microgreens?
A: Microgreens are packed with vitamins, minerals, and antioxidants. They often contain higher nutrient levels than mature greens and can boost your overall health.
Q: How can I prevent mold and fungus on my microgreens?
A: Ensure proper air circulation, avoid overwatering, and use clean containers and growing mediums. Using a fan can help improve airflow around your microgreens.
Q: Do microgreens require any special care or maintenance?
A: Besides regular watering and ensuring they get enough light, microgreens are relatively low-maintenance. Keep an eye out for mold and ensure they are in a stable, suitable environment.
Q: What are some common mistakes to avoid when growing microgreens?
A: Common mistakes include overwatering, insufficient light, overcrowding seeds, and not maintaining a consistent temperature.
Growing microgreens is a fun and rewarding way to add fresh, nutrient-dense greens to your meals year-round. With the right tools and steps, anyone can successfully grow them indoors.
Start your microgreens journey today and experience the flavor and health benefits they offer. Have questions or want to share your progress? Connect with us by commenting below and follow our blog for more tips.


It’s amazing how such small greens can be packed with so many nutrients and flavors. I love how you broke down the process step-by-step, making it easy for beginners to follow. The tips on choosing the right spot, containers, and growing medium are really practical. The FAQ section is super helpful, answering common questions that new growers might have.
Overall, this guide makes growing microgreens seem approachable and fun. Plus, the idea of having fresh, nutritious greens even in the winter is just fantastic. Thanks for sharing such a detailed and informative post!
Thanks Kavitha. It is fun indeed. And it is not a big commitment – money or time. I do it usually in fall/winter when the markets are closed. It’s worth a try 🙂